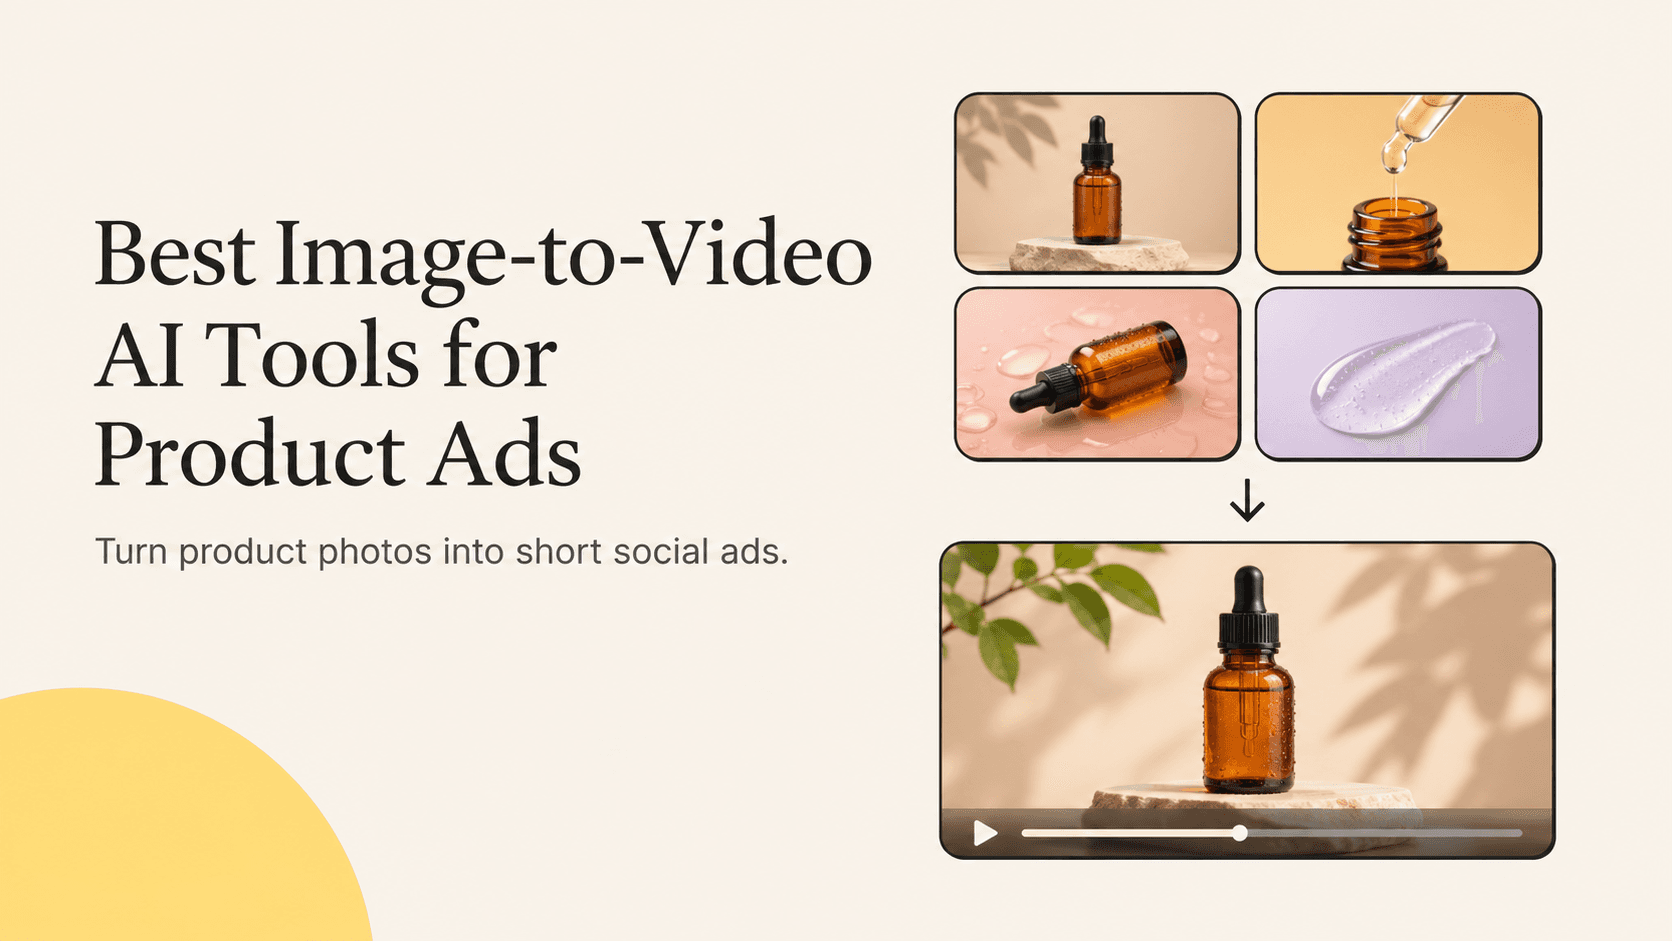
You have a set of approved product photos and a social campaign due Friday. You need a moving opener, a shot that shows what the product looks like up close, and an end card that stays on screen long enough to read. Image-to-video AI can help with the first two. The test is whether the result still looks like the item someone will receive.
Invideo is a good fit if you want to animate a product photo and build the ad on the same timeline. Runway and Adobe Firefly are worth a look if you need a single shot for an ad you’re already editing. Pika suits a playful opening, while Luma Dream Machine lets you guide the start and end of a shot.
This comparison starts with one approved product image and follows the work through directing movement, reviewing accuracy and assembling the ad. It draws on official product documentation.
What to Look for in AI Image-to-Video Tools for Product Ads
Start with a clean, sharp image that already shows the product from the right angle. Make the motion serve a purpose: a push-in can reveal texture, a slow pan can show the full shape, and a background move can add energy while the product stays easy to recognize. Choose the tool based on which motion you need and how much editing is left afterward.
Image-to-Video AI Tools for Product Ads at a Glance
|
Tool |
Creating motion |
Building the ad |
Best fit |
|---|---|---|---|
|
invideo |
Describe motion from a product photo or brand still. |
Pair motion with brand assets on an editable timeline. |
Brands assembling an ad with multiple shots. |
|
Runway |
Give the model an image and camera or motion direction. |
Combine generated shots with other elements in your edit. |
Detailed, short product shots. |
|
Adobe Firefly |
Upload an image, choose a model, and set the framing. |
Move approved outputs into your finishing workflow. |
Teams already working with Adobe assets. |
|
Pika |
Animate a still or build a more stylized visual treatment. |
Use the approved clip as an opening or cutaway. |
Creative variants with playful motion. |
|
Luma Dream Machine |
Start from a reference image and describe scene motion. |
Download a selected generation and finish the ad. |
Exploring several camera movements from a still. |
1. Invideo for Turning Product Photos Into Video Ads
Source and timeline views in invideo Editor, where generated shots can be trimmed and arranged.
Start with a product photo you already have. Upload a JPG, PNG or WEBP to the image to video AI tool. The photo becomes the first frame of the clip. Tell invideo what should move, then pick a video model. For a photo of a water bottle, you might ask the camera to move in slowly while the bottle stays still and the label faces forward.
If you need several shots for the same ad, add reference photos of the product from the front and side, plus a close-up of the label. A photo of someone holding it can show its size. These details give invideo more to work from across clips. Play each clip back and check the label, color and shape before you add it to the ad.
Open the clips in invideo Editor to trim the opening, add a real close-up and give the offer enough time on screen. If the camera moves too fast, ask for a slower version. Then review the cut and export it in a vertical format for Reels, TikTok or YouTube Shorts. Generating clips takes credits. You can edit the clips by hand on the timeline for free.
2. Runway for Directed Product Motion
The start frame and model picker. Source: Runway Help Center.
Runway Gen-4.5 takes a starting image and a description of movement. Give it one clear instruction, such as moving the camera slowly toward a stationary product. Use the vertical setting when the model supports the shape you intend to deliver. A request for a fast orbit may reveal surfaces the photo never showed, which increases the review work.
The official guide lists Gen-4.5 on the Standard plan and higher, with two- to ten-second outputs and a charge of 12 credits per generated second. A five-second clip therefore uses 60 credits at that rate. Choose Runway when the creative work is concentrated in a short directed shot you can bring into an existing ad edit.
3. Adobe Firefly for Adobe-Based Product Workflows
An uploaded first frame in Adobe Firefly’s desktop editor. Source: Adobe Help Center.
Adobe Firefly’s image-to-video tool starts with a photo and prompt and lets you select a compatible model and frame shape. A team working from approved brand visuals can test a subtle product reveal, then bring the approved result into its finishing workflow with the real end card and offer graphics.
Model choice can affect available settings and credit use. Review the Firefly plans for the specific route you intend to run. Choose Firefly if your assets and post-production already live in Adobe’s tools and you need to generate a shot for an existing project.
4. Pika for Stylized Social Ad Openings
Workflow illustration showing how an approved still can become a stylized opening.
Pika is useful when the brief leaves room for a more playful visual. A stylized backdrop, a sudden change of scene or a bold opening can do the job when the next shot gives viewers a clear view of the real product. This route works particularly well for trying different visual treatments against the same offer and message.
Check Pika’s plan details for feature access, credits and output quality before settling on a format. Choose it when the creative idea benefits from exaggerated motion and the ad can still show the product faithfully elsewhere.
5. Luma Dream Machine for Start and End Frame Control
Workflow illustration showing the starting and ending frames used to guide motion.
Luma Dream Machine can animate a starting image and accepts an ending image when you want to guide where the motion lands. The guide to Dream Machine keyframes explains how to supply both images and add a motion prompt. For a product shot, try a small change between two approved angles and inspect the frames in between for changes to the label or shape.
Review Dream Machine’s credit terms for the model and duration you plan to generate. A useful comparison counts the tries you discard before you get a shot that passes review. Choose Luma when the creative choice is about the character of the motion and you have a separate plan for finishing the ad.
How to Review AI-Animated Product Shots for Accuracy
Compare the generated clip with the source image at the beginning, in the middle and at the end. A bottle can look accurate in the first frame and develop a different cap after a camera move. Pay particular attention to labels, colors, buttons, materials and details that show which variant is being advertised. Review the image at full size first, then check whether the product still reads at phone size.
Product Ad Example From a Single Photo
Illustration of an insulated-bottle pack shot and a closer product view.
Imagine a three-shot ad for an insulated bottle. Start with a clean photo of the closed bottle and a slow push-in. Follow it with a real shot of someone opening the cap. Finish with an approved image next to the offer. This sequence gives the generated shot a clear job and lets the genuine close-up do the work of showing how the product functions.
Photograph the bottle with enough space around it to crop to a vertical frame. Keep a second image with the cap removed so the reviewer can compare the top of the product if a generated shot changes it. If your first result shifts the logo, testing one more subtle move is a better experiment than changing the model, photo and prompt at once.
Make two versions from the same approved edit. One could lead with the animated pack shot while the other opens with the genuine cap demonstration. Keep the rest of the sequence and the offer the same. That gives the team a way to compare two openings and a clean fallback if the generated shot does not pass the product review.
How to Budget for AI Product Shots and Ad Variants
Start with a shot list that distinguishes the opener from the evidence. An animated frame can make a strong first impression, but a photographed or filmed close-up may be the clearest way to show a clasp, label or exact color. Give the reviewer the original photo alongside the generated clip. Ask them to mark which change makes the product inaccurate and whether a smaller move would solve the problem.
On a vertical ad, leave space around the product to add a readable offer later. TikTok’s creative best practices recommend keeping important elements within the interface safe zone. Check the actual destination preview before approving a cut. An attractive close-up can still be unusable if the platform covers the label or call to action.
Compare the cost of getting one approved vertical shot. Track the number of attempts, the usable seconds and the time it takes to finish the clip in a video editor. If a brand needs five versions in different colors, test two of the variants first. A tool that handles one color cleanly might still need careful review on reflective packaging or lighter labels. Keep the process consistent so results can be compared fairly.
Build time for internal review and client sign-off into the production schedule. MarketersClique’s client approval guide explains how to define who owns each step. In practice, give one person responsibility for checking product accuracy and another for approving the offer and delivery. That makes it easier to catch a subtle packaging change before a video goes live.
Key takeaways
-
Animate a sharp approved image and give the shot one clear job.
-
Check the details at the beginning, middle and end of each generation.
-
Compare tools by the cost of a usable shot and the time needed to finish the ad.
Frequently asked questions
Which product photos work best?
Sharp images with clear edges and room around the subject are easy to evaluate. Choose an angle that shows the correct label and variant, and keep another approved photo for comparison.
Can AI animation change packaging?
It can introduce visual changes as the clip moves. Compare the result with the original and keep any required product details in an approved photograph or real footage if they do not hold up.
How should I compare credit costs?
Start with a clip of the same length in each tool. Count the attempts it takes to produce a useful result, then add any rework for text, framing and graphics.
What is a good first ad to try?
Start with a simple product reveal, an authentic detail shot and one clear offer. Use the same body of the ad while testing different animated openings so you can tell which treatment helps.
Conclusion
Start with a product image your team has already approved and one brief you can run across the shortlist. A subtle push-in is enough to show which tools preserve important details. Then add a real product shot or still where the viewer needs extra accuracy. Invideo Editor fits the next step when you need to combine those assets, adjust timing and add graphics before export.
Keep both the approved image and the final edit. That gives the team something concrete to compare when a product variant, offer or platform changes. If a motion treatment needs repeated repairs to look like the actual product, spend that time on a simpler move or a stronger cut instead.